Sneak Preview: Nuxt Coolify Module
Introduction
Over the last few months I've been working on a Nuxt module for Coolify, it wraps the Coolify API and provides a set of server utilities for Nuxt and Nitro. Thanks to Sandros94 and his contributions to the project, the module has improved a lot.
The module is however still in the early stages of development, but it already provides a set of useful utilities. It injects our Nitro server utilities to your Nuxt project, which can be used to interact with the Coolify API from your Nitro server endpoints.
Quickstart
Use npx nuxi module add nuxt-coolify to automaticly add the module to your project or,
Install nuxt-coolify using your package manager of choice and add it manually to your modules: ['nuxt-coolify'] array within your nuxt.config.ts file.

Setup Overview
// nuxt.config.ts
export default defineNuxtConfig({
  modules: ['nuxt-coolify']
})
NUXT_COOLIFY_INSTANCES_DEFAULT_BASE_URL=<your-coolify-url>
NUXT_COOLIFY_INSTANCES_DEFAULT_API_TOKEN=<your-coolify-api-token>
NUXT_COOLIFY_PROVIDERS_HETZNER_BASE_URL=<your-hetzner-api-url>
NUXT_COOLIFY_PROVIDERS_HETZNER_API_TOKEN=<your-hetzner-api-token>
Settings -> API Tokens.Security -> API Tokens.Usage Example in a Nitro endpoint
// List all instances
export default defineEventHandler(async (event) => {
  // check auth permissions
  return useCoolify().instances()
})
// List all resources for a specific Coolify instance
import type { Instance } from 'nuxt-coolify'

export default defineEventHandler(async (event) => {
  const name = getRouterParam(event, 'name')
  const { instances } = useRuntimeConfig().coolify

  if (name && !Object.prototype.hasOwnProperty.call(instances, name)) {
    return createError({
      statusCode: 500,
      message: 'Provided Instance is not configured.',
    })
  }
  // check auth permissions
  return useCoolify().instances(name as Instance)
})
Nuxt Coolify Examples Project

This example project demonstrates how to use the Nuxt Coolify Module to interact with the Coolify API and Nitro server.
How to run the example project
You can find the example project on GitHub.
- Clone the repository and install the dependencies.
- Create a
.envfile and add your Coolify and Hetzner API tokens and API URLs if you haven't already.
NUXT_COOLIFY_INSTANCES_DEFAULT_BASE_URL=https://coolify.yourdomain.com/api/v1
NUXT_COOLIFY_INSTANCES_DEFAULT_API_TOKEN=<your-coolify-api-token>
NUXT_COOLIFY_PROVIDERS_HETZNER_BASE_URL=https://api.hetzner.cloud/v1
NUXT_COOLIFY_PROVIDERS_HETZNER_API_TOKEN=<your-hetzner-api-token>
Settings -> API Tokens.Security -> API Tokens.- Run the development server and open the page in your browser.
pnpm dev
How to use the module on a page
In the index.vue file you can see how we interact with the API and Nitro server.
<script setup>
// Fetch all instances
const { data: instances } = await useFetch("/api/v1/coolify/instances", {
  method: "GET",
  headers: { "Content-Type": "application/json" },
});
</script>

<template>
  ...
  <UDashboardPanelContent>
    <UDashboardSection
      icon="i-heroicons-user"
      title="Welcome"
      description="Manage your instances and servers."
      orientation="vertical"
      class="px-4 mt-6"
    />
    <div class="grid lg:grid-cols-2 lg:items-start gap-8 mt-8">
      <!-- List all instances -->
      <HomeInstances :instances="instances" />
      <!-- List all locations -->
      <HomeLocations />
    </div>
  </UDashboardPanelContent>
  ...
</template>
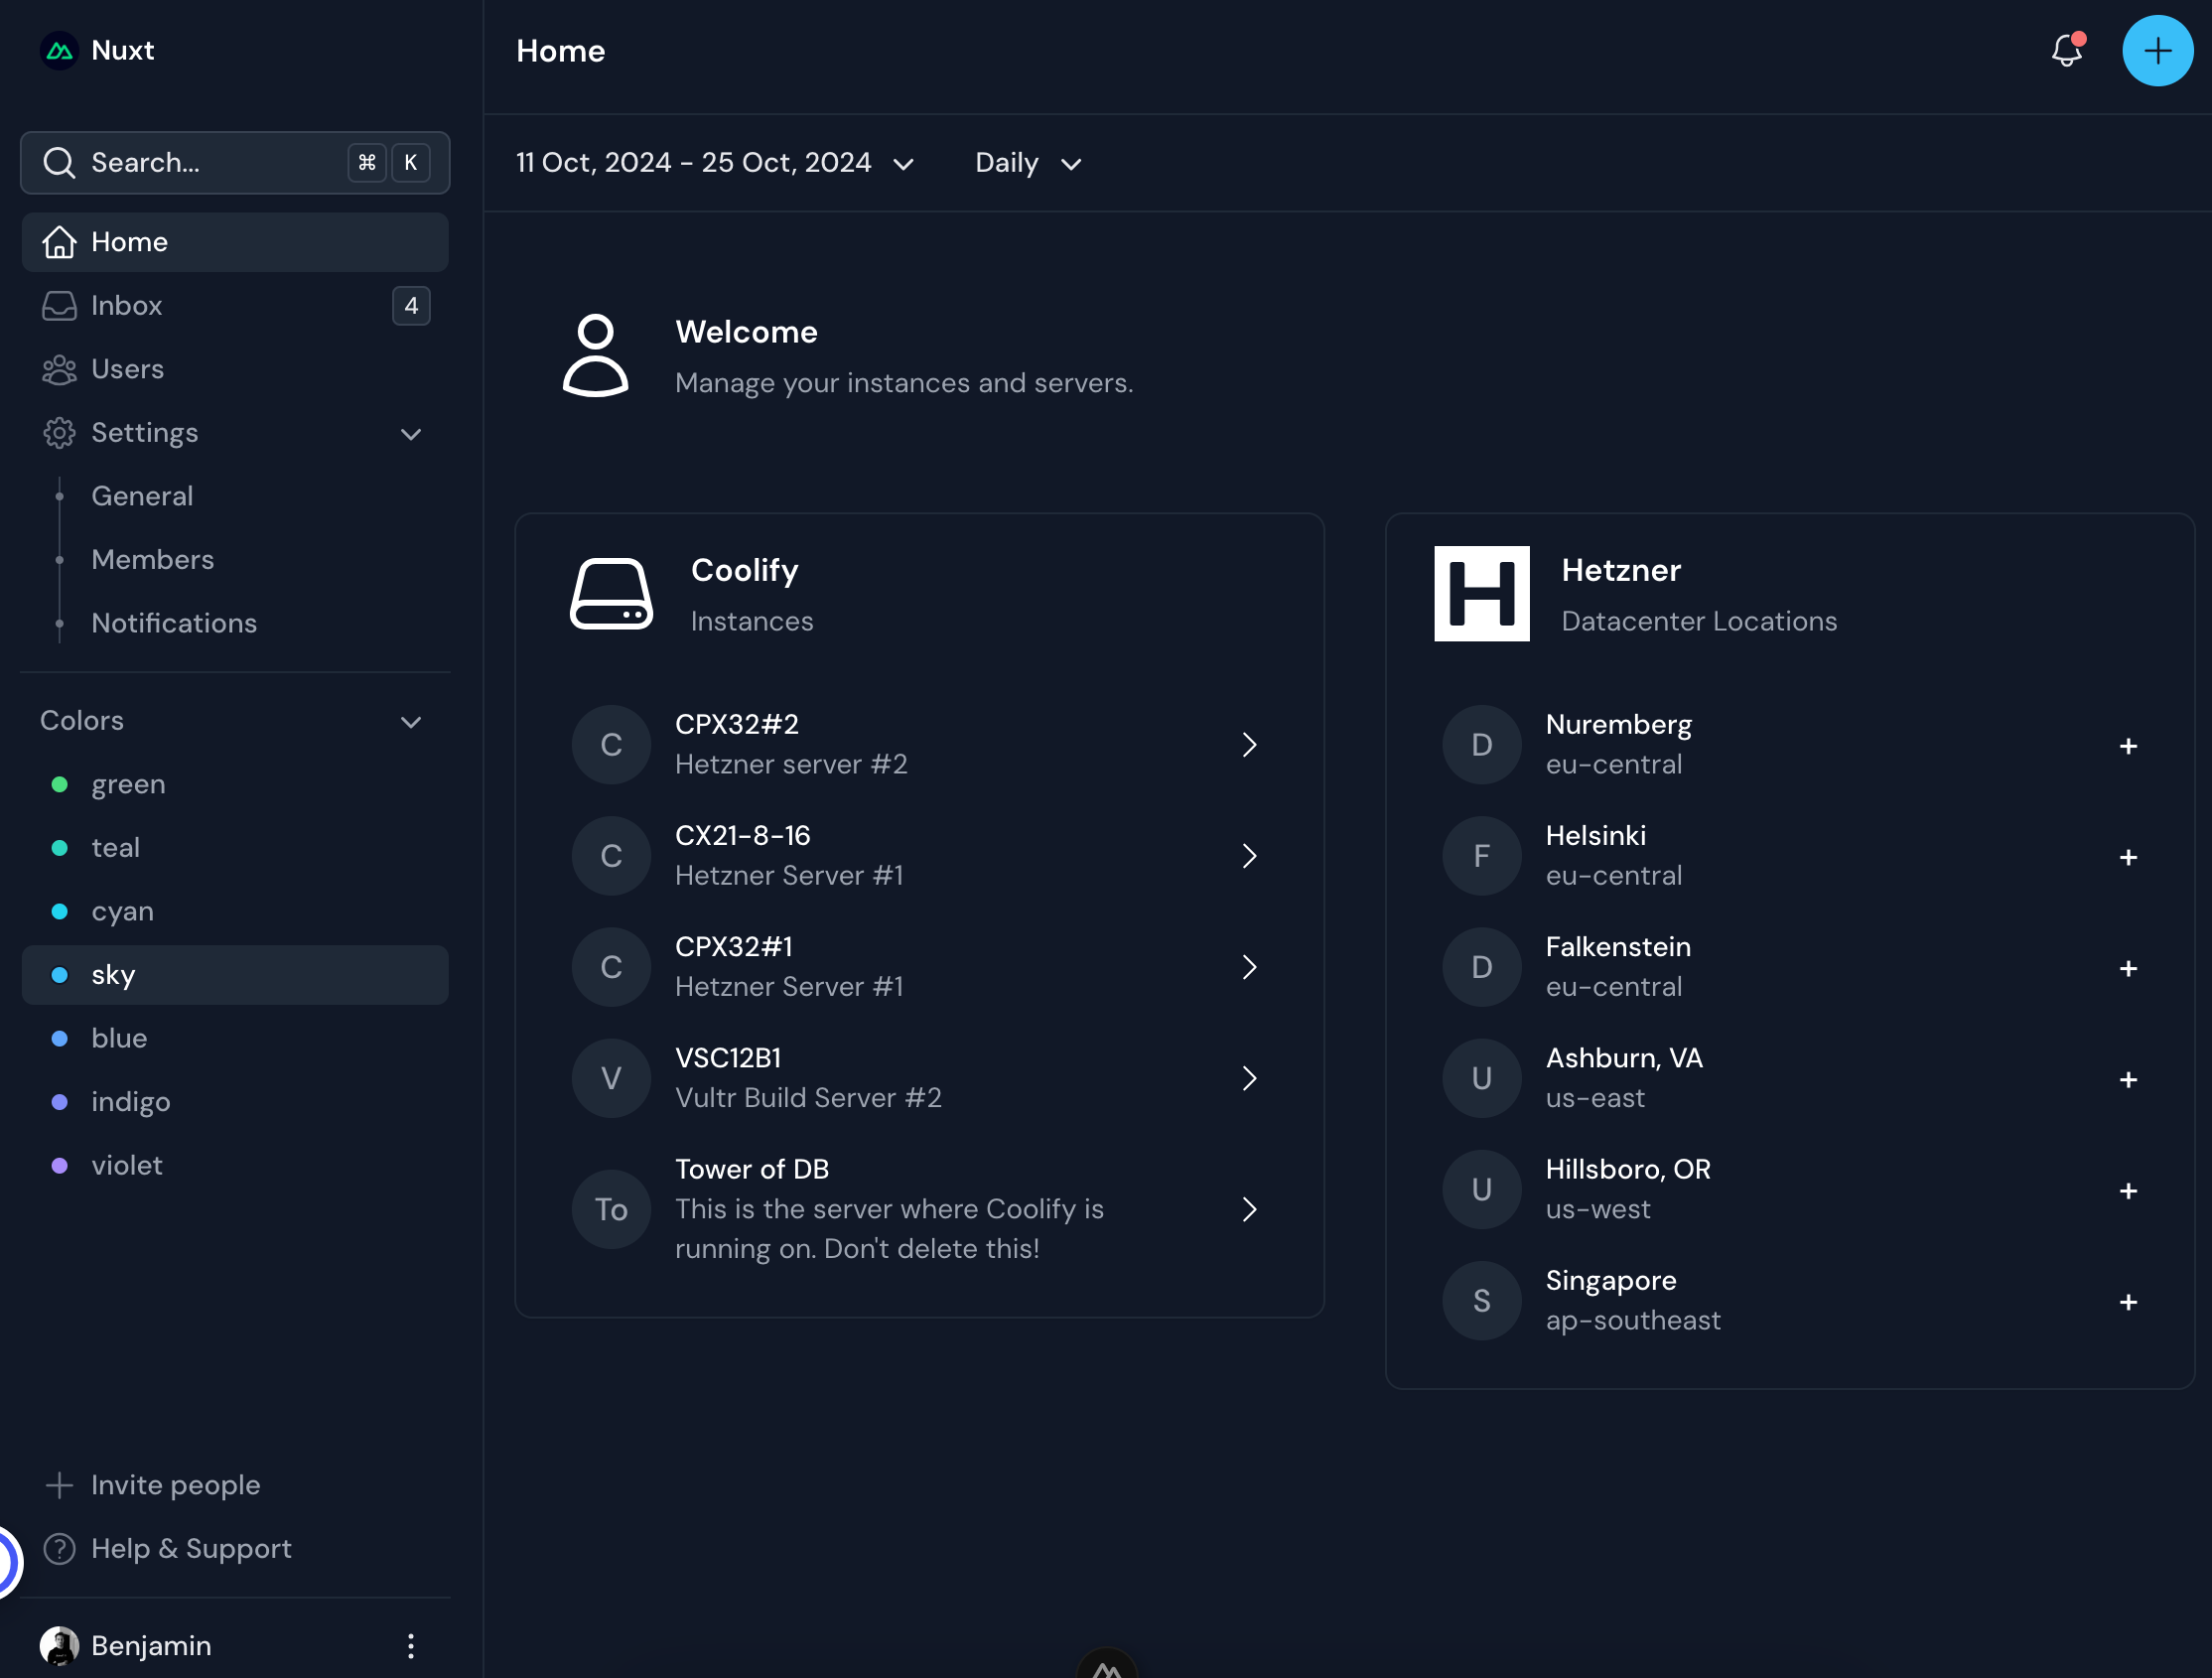
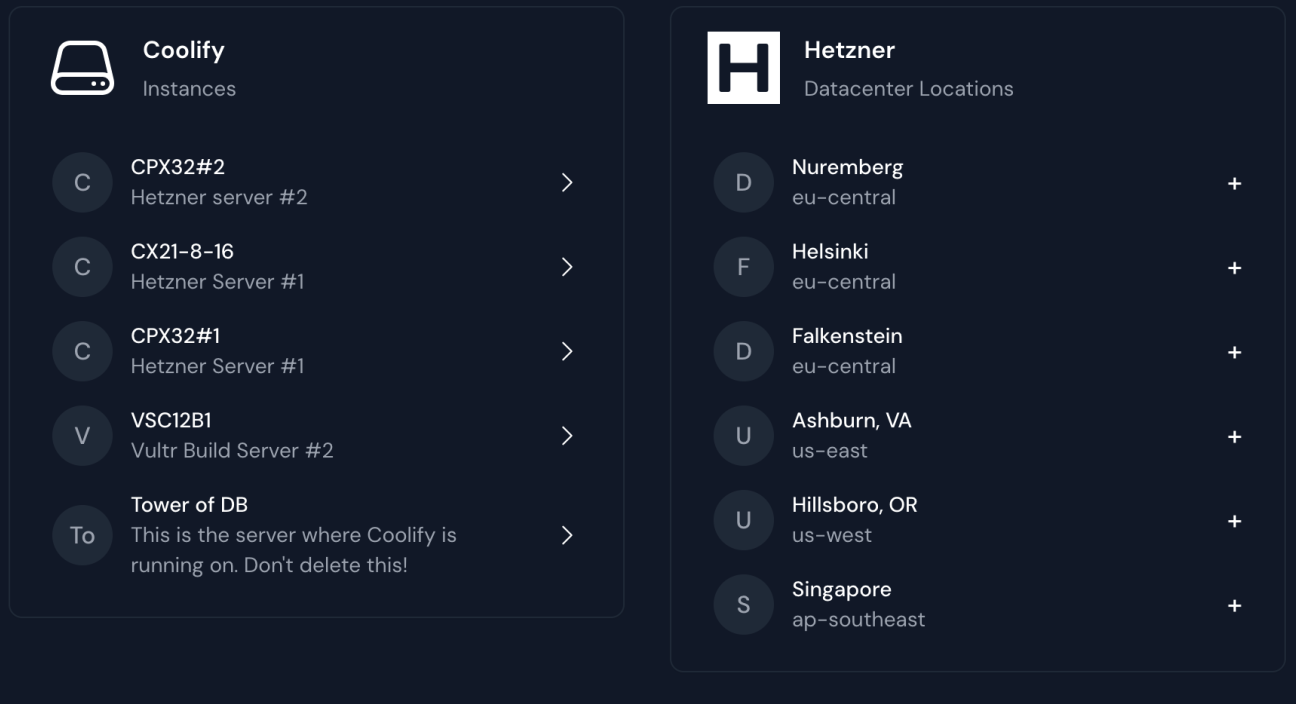
On the left side you can see the HomeInstances component which lists all your Coolify instances and on the right side you can see the HomeLocations component which lists all Hetzner locations.

The HomeInstances component is a simple component that lists all your Coolify instances and provides a link to each instance it got back from the API. We are calling the /api/v1/coolify/instances endpoint to get the list of instances. The endpoint can be found in the server folder of the example project.
You can use our built in Nitro server utilities like useCoolify().instances() to get the list of your default instance.
// List all instances
export default defineEventHandler(async (event) => {
  // TODO: Add your own auth check here

  const instances = await useCoolify().instances()
  return instances[0].default
})
You can also grab a specific instance by sending the instance's UUID. E.g:
- Create a new Nitro server endpoint:
server/api/v1/coolify/instances/:id/index.get.ts. - Use the
useCoolify().instances()utility function to get the list of instances and find the instance with the matching UUID.
// server/api/v1/coolify/instances/[id]/index.get.ts
export default defineEventHandler(async (event) => {
  // TODO: Add your own auth check here

  const uuid = getRouterParam(event, 'id')
  const instances = await useCoolify().instances()
  return instances[0].default.find((instance) => instance.uuid === uuid)
})
We also have the Hetzner API wrapped in a utility function that you can use to get the list of locations of their datacenters.
- Create a new Nitro server endpoint:
server/api/v1/hetzner/locations.get.ts. - Use the
useHetzner().getDatacenters()utility function to get the list of locations. E.g:
export default defineEventHandler(async (event) => {
  return useHetzner().getDatacenters()
})
How to use the module in a component
You can use the built in useFetch, useLazyFetch or useAsyncData function to fetch data from the API.
E.g:
<script setup lang="ts">
const { data: locations } = await useLazyFetch('/api/v1/hetzner/locations')
</script>

<template>
  <UDashboardCard
    title="Hetzner"
    description="Datacenter Locations"
    icon="simple-icons:hetzner"
  >
    <NuxtLink
      v-for="(datacenter, index) in locations.datacenters"
      :key="index"
      class="px-3 py-2 -mx-2 last:-mb-2 rounded-md hover:bg-gray-50 dark:hover:bg-gray-800/50 cursor-pointer flex items-center gap-3 relative"
    >

      <div class="text-sm flex-1">
        <div>
          <p class="text-gray-900 dark:text-white font-medium">
            {{ datacenter.location.city }}
          </p>
          <p class="text-gray-500 dark:text-gray-400">
            {{ datacenter.location.network_zone }}
          </p>
        </div>
      </div>

      <p class="text-gray-900 dark:text-white font-medium text-lg">
        +
      </p>
    </NuxtLink>
  </UDashboardCard>
</template>
More fetch examples
<script setup lang="ts">
const { data: instances, status, refresh, error } = await useFetch('/api/v1/coolify/instances')
</script>
<script setup lang="ts">
const { data: instances, status, refresh, error } = await useLazyFetch('/api/v1/coolify/instances')
</script>
<script setup lang="ts">
const { data: instances, status, refresh, error } = await useAsyncData('instances', () =>
  $fetch('/api/v1/coolify/instances')
)
</script>
Learn more about Nuxt Data Fetching.
Parallel and sequential fetching with useAsyncData() and Promise.all()
Fetching in parallel:
<script setup lang="ts">
const { data, pending, error, refresh } = await useAsyncData('resources', async () => {
  const [instances, locations] = await Promise.all([
    const instances = await $fetch('/api/v1/coolify/instances'),
    const locations = await $fetch('/api/v1/hetzner/locations')
  ])
  return { instances, locations }
})
</script>
Sequential fetching
Fetching resources sequentially in order if the second request depends on response of the first request.
await keyword.<script setup lang="ts">
const { data, pending, error, refresh } = await useAsyncData('resources', async () => {
const instances = await $fetch('/api/v1/coolify/instances')
const locations = await $fetch('/api/v1/hetzner/locations')
return { instances, locations }
})
</script>
Endless Possibilities
We provide a set of Nitro server utilities that can be used to interact with the Coolify and Hetzner APIs (more providers coming soon).
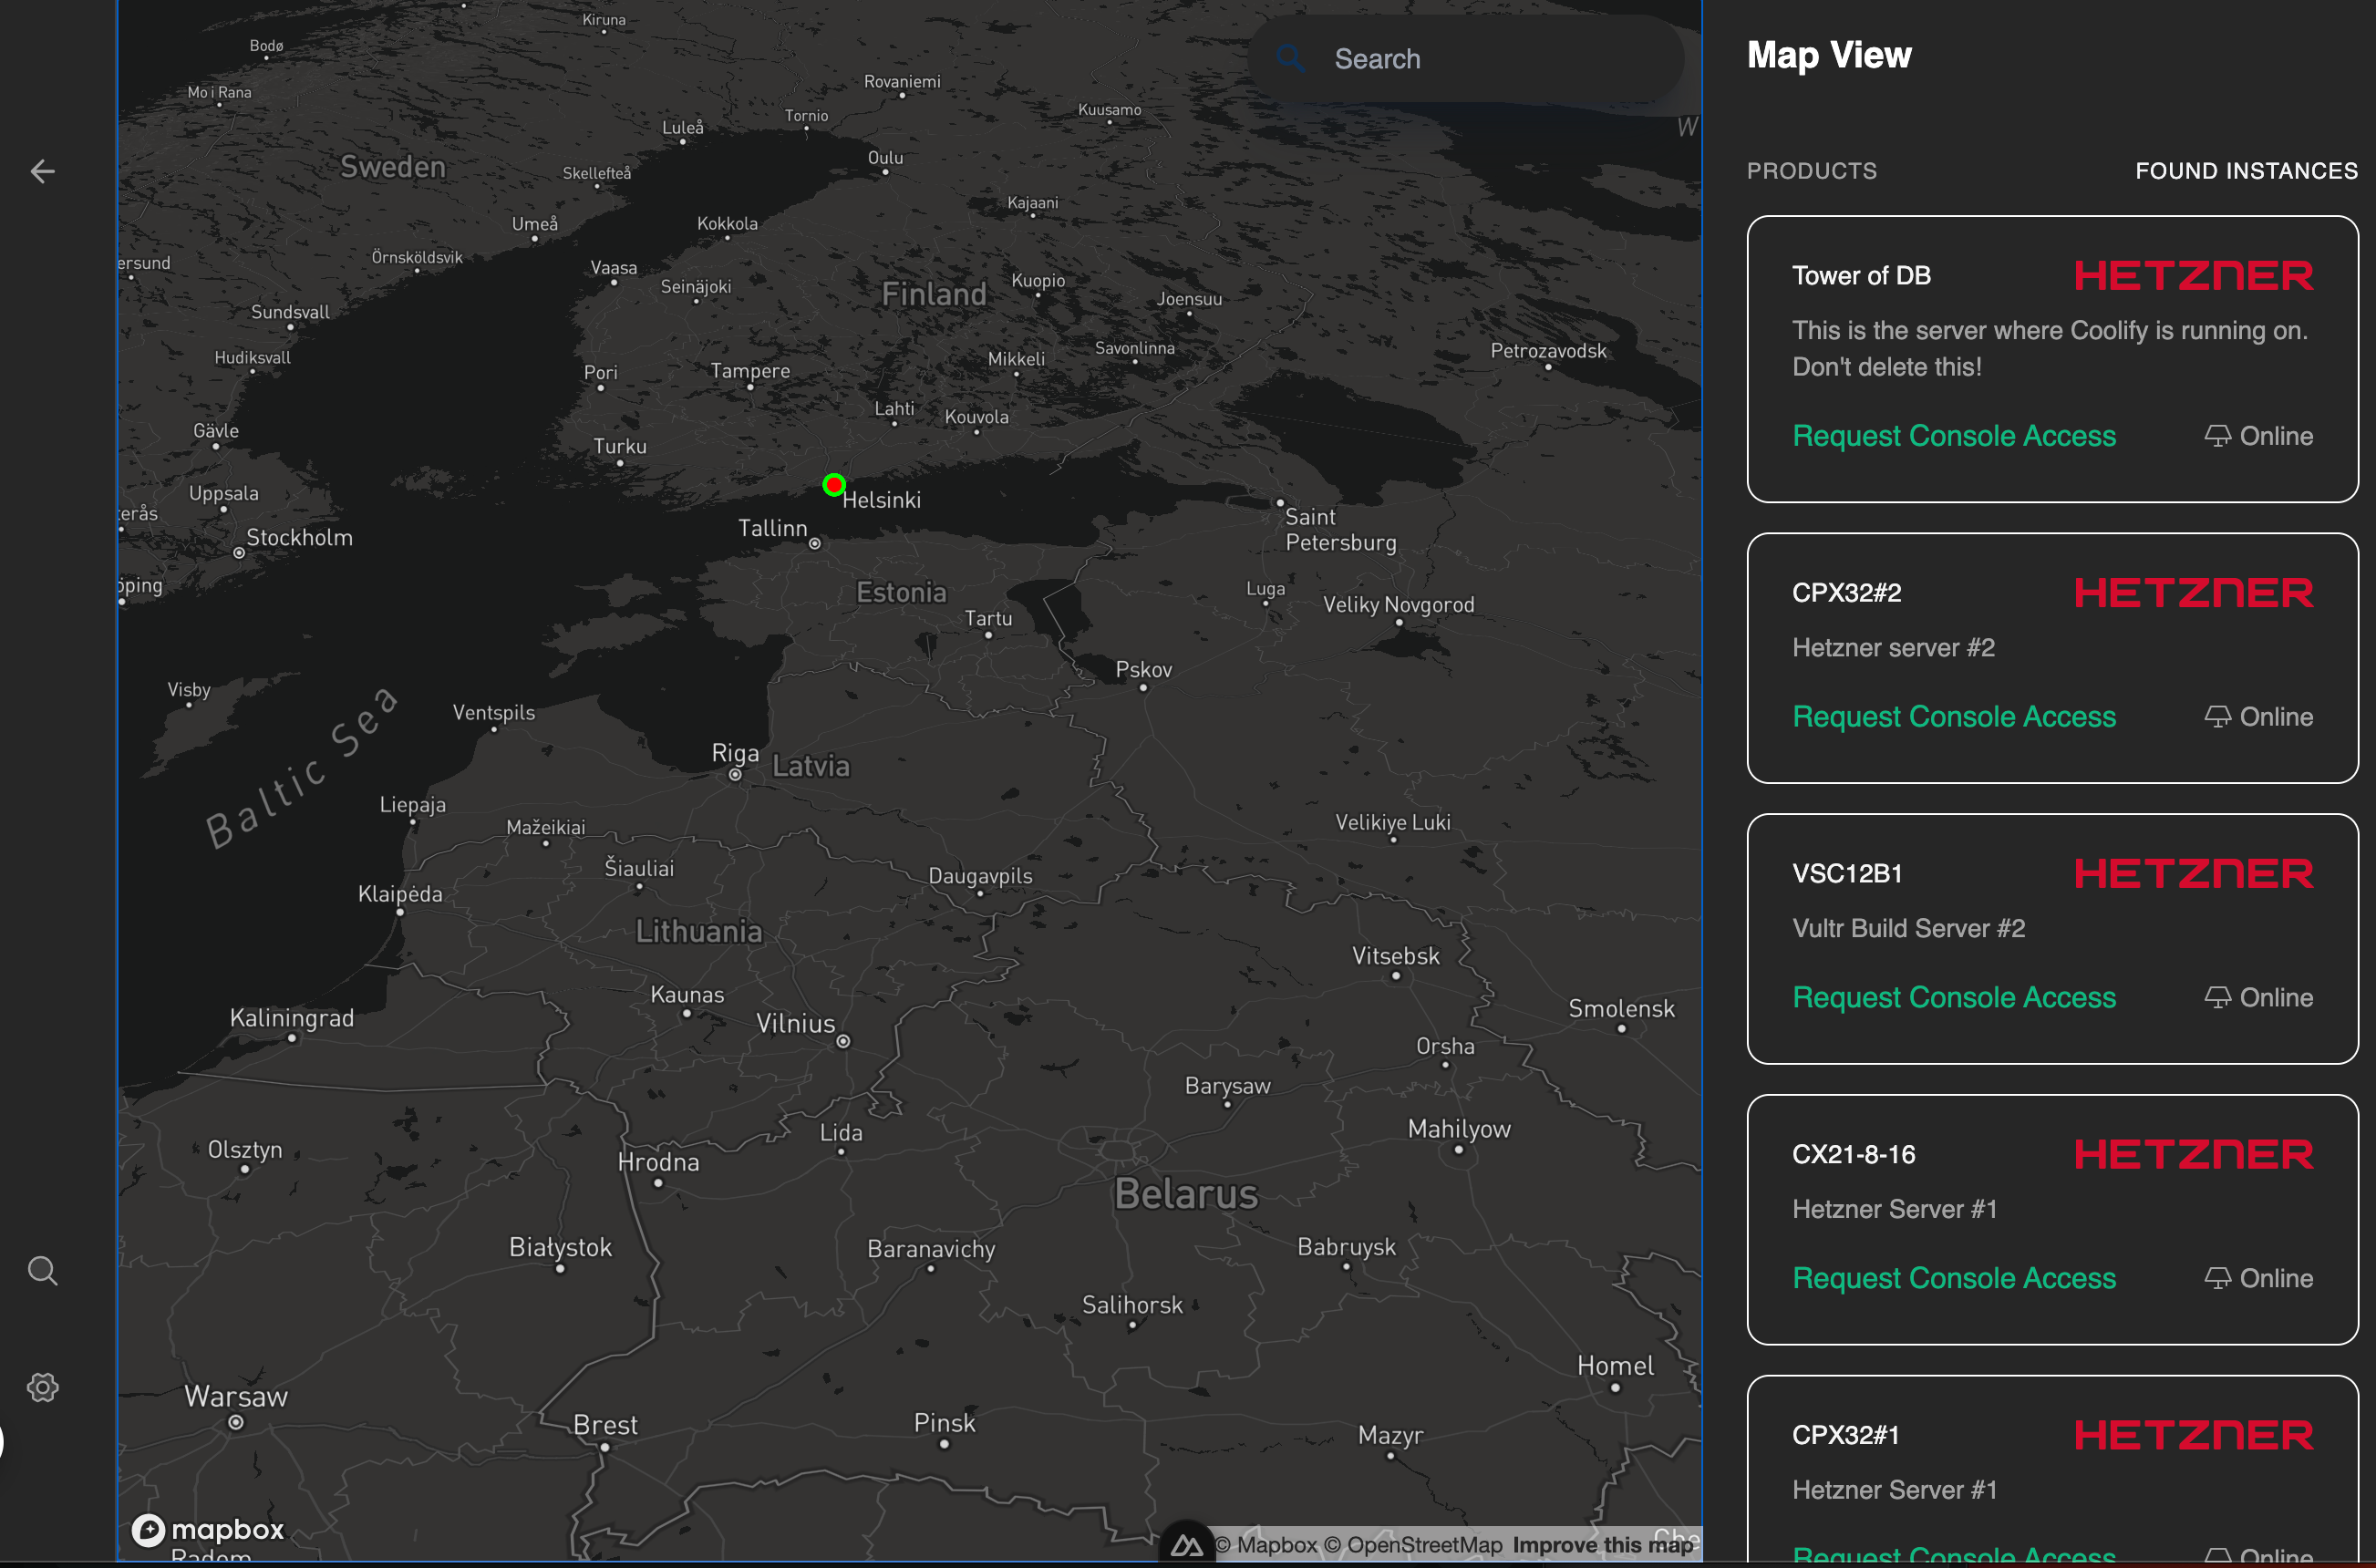
Here is another example of how you can use the module to create a interactive map of all your Coolify instances and VPS provider datacenter locations like that of Hetzner.

Stay tuned for more providers, improvements and features!
Resources
User Auth and Session Management in Nuxt with Sidebase and Strapi v4
Learn how to implement user authentication and session management in a Nuxt application using Sidebase Nuxt-Auth module and Strapi v4 as the backend.
The Future of Space Planners - Part Two
Showcase and casestudy of 2023 tech leaping forward in 2024, focusing on the iOS side of space planning technology.